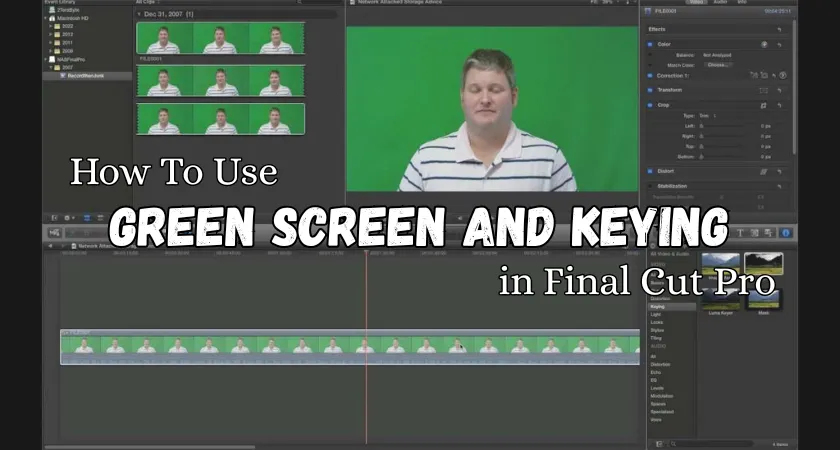
How to Use Green Screen and Keying in Final Cut Pro
Green screen (or chroma key) editing is one of the most powerful techniques in video production. It allows you to replace a solid background—usually green or blue—with any image, video, or animation of your choice. Whether you want to place your subject in a fantasy world, a newsroom, or outer space, Final Cut Pro makes it possible with just a few steps.
For YouTubers, filmmakers, and content creators, use green screen and keying in Final Cut Pro can elevate production quality and storytelling. This guide walks you through everything—from preparing your footage to refining and exporting a professional-looking composite scene.
What Is Green Screen Editing?
Green screen editing, also known as chroma keying, is a technique where you film a subject against a bright green (or blue) background. In post-production, this color is digitally removed and replaced with another video or image layer. The process creates the illusion that your subject is in a completely different environment.
Why Use Green Screen in Final Cut Pro?
- Professional Look: Achieve cinematic effects without expensive locations.
- Creative Flexibility: Insert your subject anywhere—from studios to virtual landscapes.
- Cost-Effective Production: Avoid building physical sets.
- Perfect for YouTube & Tutorials: Commonly used in reaction videos, streaming overlays, or product demos.
Final Cut Pro offers a built-in Keyer effect, which simplifies the chroma keying process. You don’t need third-party plugins—just the right footage and a few refinements.
Preparing Footage
Before applying any effect, proper preparation is essential for clean and accurate keying. Here’s how to get ready:
1. Shoot Against a Proper Green Screen
Use a bright, evenly lit green or blue backdrop. Avoid wrinkles and shadows, as these can cause uneven keying.
Pro Tip: Use soft lighting on both your subject and background. Keep them at least 4–6 feet apart to prevent green spill (light reflecting from the screen onto the subject).
2. Record in High Quality
Always record in the highest resolution your camera allows (1080p or 4K). The higher the quality, the more accurate the keying will be.
3. Maintain Consistent Lighting
Lighting consistency ensures that Final Cut Pro’s Keyer detects one solid shade of green or blue. Uneven lighting causes patchy keying, requiring more manual cleanup.
4. Import Footage into Final Cut Pro
Once your clips are ready:
- Open Final Cut Pro.
- Create a new project.
- Drag both your background footage and green screen clip into the timeline.
- Place the green screen clip above the background layer in the timeline. The top layer is what you’ll be keying.
Applying the Keyer Effect
Final Cut Pro simplifies green screen editing using its Keyer effect. Here’s how to apply it:
Step 1: Access the Keyer
- Go to the Effects Browser (shortcut: Command + 5).
- Search for Keyer under the Keying category.
- Drag and drop the Keyer effect onto your green screen clip.
Once applied, Final Cut Pro automatically removes the green or blue background. You’ll instantly see your subject composited over the background layer beneath it.
Step 2: Fine-Tune the Keyer Settings
Select your green screen clip in the timeline and open the Video Inspector (Command + 4). You’ll see various Keyer controls:
- Strength: Adjust how aggressively the color is removed.
- Fill Holes: Fix transparent spots inside the subject.
- Edge Distance: Refine how close the keying cuts to the subject.
- Spill Suppression: Reduces green reflection or “spill” around your subject.
Step 3: Manually Pick a Color (if needed)
If the automatic keying doesn’t perfectly remove the green, you can manually select the color:
- In the Viewer, click the Sample Color tool (eyedropper icon).
- Drag over the background area to choose the correct shade.
This gives you more control and ensures a clean, professional cut.
Refining Edges & Lighting
Perfect keying isn’t just about removing the background—it’s about blending the subject naturally into the new environment. Let’s refine the composition:
1. Adjust Edge Smoothness
Under Keyer settings:
- Use Edge Distance and Smoothness sliders to eliminate harsh outlines.
- Avoid over-smoothing, which can make your subject appear blurry.
2. Use Light Wrap
The Light Wrap option allows Final Cut Pro to simulate ambient light from the background on the edges of your subject. This makes the subject blend more naturally with the background.
To apply:
- Enable Light Wrap in the Keyer settings.
- Adjust its Amount and Opacity until it matches your scene’s lighting.
3. Balance Color and Exposure
Your background might be brighter or darker than your subject. Use Final Cut Pro’s Color Board or Color Wheels to match exposure, contrast, and saturation.
4. Fix Green Spill
Even after keying, some areas—like hair or reflective clothing—may have a faint green tint. Use Spill Suppression under Keyer settings or apply a Hue/Saturation Curves effect to desaturate the green tones selectively.
5. Add a Mask (Optional)
If your scene has unwanted areas (like partial greens on edges), apply a Shape Mask or Draw Mask to manually crop out problem regions.
Exporting Final Result
Once your green screen composite looks natural and seamless, it’s time to export the final video.
Step 1: Render and Preview
Play the entire timeline to check transitions, color balance, and blending. If you see flickers or mismatched tones, make final adjustments.
Step 2: Export Settings
Click the Share icon → Export File and choose your preferred settings:
- Format: H.264 (MP4) for web or social media.
- Resolution: Match your project’s timeline (usually 1080p or 4K).
- Color Space: Standard Rec. 709 for most platforms.
Step 3: Save the Project
Export and save your final video to a preferred location. You can also directly upload to YouTube, Vimeo, or other platforms via Final Cut Pro’s export options.
Pro Tips for Perfect Green Screen Edits
Common Mistakes to Avoid
FAQs
Conclusion
Mastering green screen and keying in Final Cut Pro opens a world of creative possibilities. With the built-in Keyer effect, even beginners can replace backgrounds and craft cinematic scenes without additional software. Remember, the secret lies in good lighting, clean footage, and subtle adjustments during post-production.
Once you refine your edges, balance the lighting, and match colors properly, your audience won’t even notice it’s a composite shot. Whether you’re producing YouTube tutorials, music videos, or short films, this technique can make your visuals truly stand out.